Last updated: September 2026
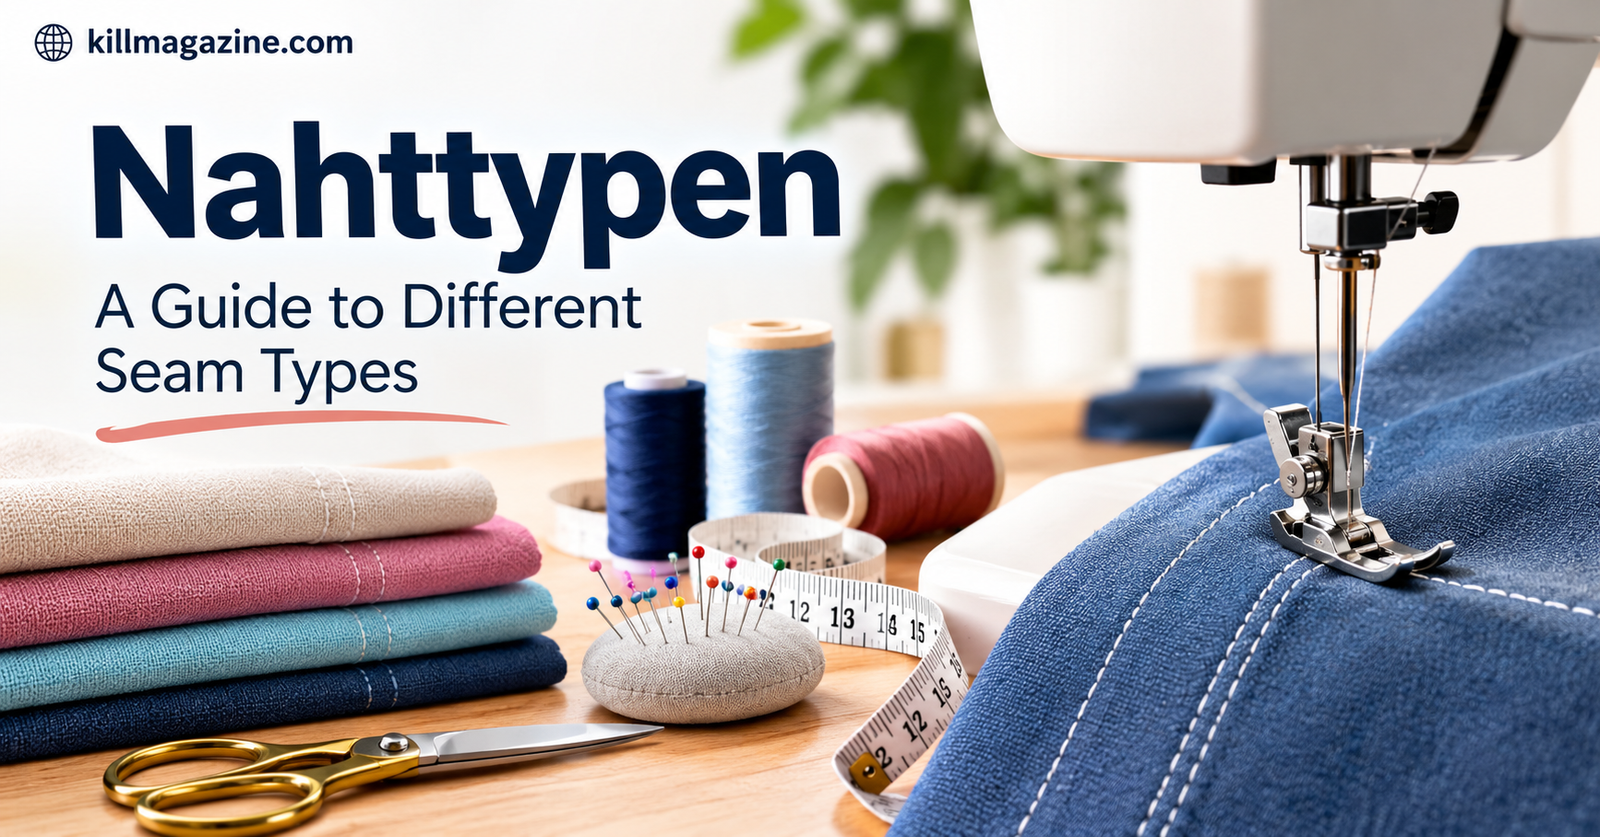
If you’ve ever come across the German word Nahttypen in a sewing pattern, textile manual, or fabric course, you’ve probably wondered what it actually means and why it matters for your project. In simple terms, Nahttypen translates to “seam types” — the different methods used to join, finish, or decorate fabric with stitches.
Understanding seam types isn’t just a technical detail for professional tailors. Whether you’re a hobbyist sewing your first tote bag or a small business owner producing garments at scale, knowing which seam to use — and why — directly affects how your finished piece looks, feels, and holds up over time.
This guide breaks down what Nahttypen means, the most common seam types used in sewing, how to choose the right one for your fabric, and answers to the questions people ask most often.
What Does Nahttypen Mean?
In German, “Naht” means seam or stitch line, and “Typen” simply means types. Put together, Nahttypen refers to the various ways two or more layers of fabric can be joined together using stitches.
While the word can technically appear in other technical fields — such as welding (weld types) or medicine (suture types) — in the context of sewing and textile work, it almost always refers to seam construction methods.
The textile industry even has a formal classification system for this. ISO 4916 is the international standard used to classify stitched seam types in clothing and textile production. This standardization matters because it allows designers, factories, and sewing teams across different countries to use a shared language when describing how a garment should be constructed — reducing production errors and miscommunication.
Why Seam Type Matters More Than You Think
A seam does more than just hold two pieces of fabric together. The right seam type affects:
- Strength — how well the seam withstands stress, pulling, and repeated washing
- Comfort — whether the seam rubs against skin or lies flat
- Appearance — whether raw edges are hidden or visible, and how clean the finish looks
- Fabric compatibility — some seams work only on wovens, others are essential for stretch fabrics
Choosing the wrong seam for a project can lead to fraying, puckering, discomfort, or a seam that simply falls apart after a few washes. That’s why understanding Nahttypen is a foundational skill for anyone serious about sewing.
Common Nahttypen (Seam Types) You Should Know
1. Plain Seam
The plain seam is the simplest and most widely used seam type. Two pieces of fabric are placed right sides together and stitched in a straight line near the edge. After sewing, the seam allowance is typically pressed open or to one side.
Best for: Shirts, skirts, dresses, pillow covers, and general home sewing projects.
Plain seams are fast, easy to alter, and beginner-friendly — but the raw edges usually need a separate finish to prevent fraying, especially on fabrics that shed easily.
2. French Seam
A French seam encloses the raw fabric edges entirely, resulting in a clean finish on both the inside and outside of the garment. It’s created by first sewing with wrong sides together, trimming the seam, then folding and stitching again with right sides together.
Best for: Sheer or lightweight fabrics like chiffon, voile, and silk, where an exposed overlock edge would look messy.
3. Flat-Felled Seam
This seam folds and encloses the raw edges while adding a second line of visible stitching for reinforcement. It’s known for being strong and finished on both sides.
Best for: Jeans, workwear, and casual garments that need to withstand repeated stress and washing.
4. Flatlock Seam
Instead of creating a raised ridge, a flatlock seam lies nearly flat against the fabric, reducing bulk and friction.
Best for: Sportswear, activewear, underwear, and other close-fitting stretch garments where comfort against the skin is a priority.
5. Overlock Seam
Made using an overlock machine (serger), this seam wraps thread around the fabric edge to prevent fraying, sometimes while joining the fabric at the same time.
Best for: Knitwear, T-shirts, and production sewing where speed and edge control matter.
6. Piped Seam
A piped seam inserts a narrow strip of fabric — often wrapped around a cord — between two pieces before stitching, leaving a decorative raised edge visible along the seam line.
Best for: Cushions, upholstery, bags, and garments where the seam is meant to be a visible design feature.
Nahttypen Comparison Table
| Seam Type | Best For | Strength | Finish/Appearance | Skill Level |
|---|---|---|---|---|
| Plain Seam | Wovens, everyday garments | Moderate | Basic; needs edge finishing | Beginner |
| French Seam | Sheer/lightweight fabrics | Moderate | Very clean, enclosed edges | Intermediate |
| Flat-Felled Seam | Denim, workwear | High | Strong, finished both sides | Intermediate |
| Flatlock Seam | Activewear, stretch fabric | Moderate–High | Flat, low bulk, skin-friendly | Intermediate |
| Overlock Seam | Knits, T-shirts, production | Moderate | Prevents fraying, functional | Beginner–Intermediate |
| Piped Seam | Cushions, bags, upholstery | Moderate | Decorative, defined edge | Advanced |
How to Choose the Right Seam for Your Fabric
Selecting a seam isn’t just a stylistic choice — it should be guided by your fabric’s weight, stretch, and how the finished piece will be used.
- Lightweight or sheer fabrics (chiffon, voile, silk) generally benefit from an enclosed finish like a French seam, since raw edges can look unsightly and fray quickly.
- Heavy or structured fabrics (denim, canvas) can handle — and often need — a stronger seam like a flat-felled seam to withstand stress points.
- Stretch or knit fabrics need seams that can move with the fabric. A flatlock or overlock seam is usually a better choice than a rigid straight-stitch plain seam, which can snap under tension.
- Decorative or structural home projects (cushions, bags) may call for a piped seam to add both durability and visual interest.
A good habit before starting any project: test your chosen seam on a fabric scrap first. This lets you check tension, stitch length, and how the seam behaves before committing to your final piece.
Common Mistakes to Avoid With Nahttypen
- Using the same seam for every project. A method that works well for cotton may fail on stretch or sheer fabric.
- Ignoring seam allowance. Too little fabric can weaken the seam; too much can create unwanted bulk.
- Skipping pressing. Even a well-sewn seam can look unfinished if it isn’t properly pressed during construction.
- Not testing tension first. Poor machine tension often causes puckering or loose stitching, especially on unfamiliar fabrics.
Frequently Asked Questions (FAQs)
1. What does Nahttypen mean in English? Nahttypen is German for “seam types.” It refers to the different methods used to join or finish fabric edges with stitching, commonly used in sewing, textile production, and garment construction.
2. What is the easiest seam type for beginners? The plain seam is generally the easiest to learn. It only requires a basic straight stitch, works on most woven fabrics, and is simple to adjust or unpick if needed.
3. Which Nahttypen is best for delicate fabric? A French seam is usually the best choice for lightweight or sheer fabric, since it encloses raw edges completely and prevents visible fraying on the inside of the garment.
4. What is the strongest seam for clothing? The flat-felled seam is considered one of the strongest common seam types. It’s widely used on jeans and workwear because it encloses raw edges while adding reinforced stitching.
5. What’s the difference between overlock and flatlock seams? An overlock seam wraps thread around a fabric edge to prevent fraying and can also join fabric together. A flatlock seam is designed to lie flatter, making it more comfortable for stretch and athletic wear where the seam sits close to the skin.
Final Thoughts
Nahttypen isn’t just a technical German term — it’s a practical framework for making better sewing decisions. Once you understand the strengths and best uses of plain, French, flat-felled, flatlock, overlock, and piped seams, choosing the right one for your fabric becomes second nature rather than guesswork.
Start with the basics, practice on scrap fabric, and build up to more advanced techniques as your confidence grows. The right seam won’t just hold your project together — it will help it look better and last longer.